Explore the 913 Platform
Welcome to your AI Agents platform! This guide walks you through your workspace so you can find everything you need quickly. We'll cover how to personalize your workspace along with a brief overview of the main features.
Personalizing Your Platform
Language
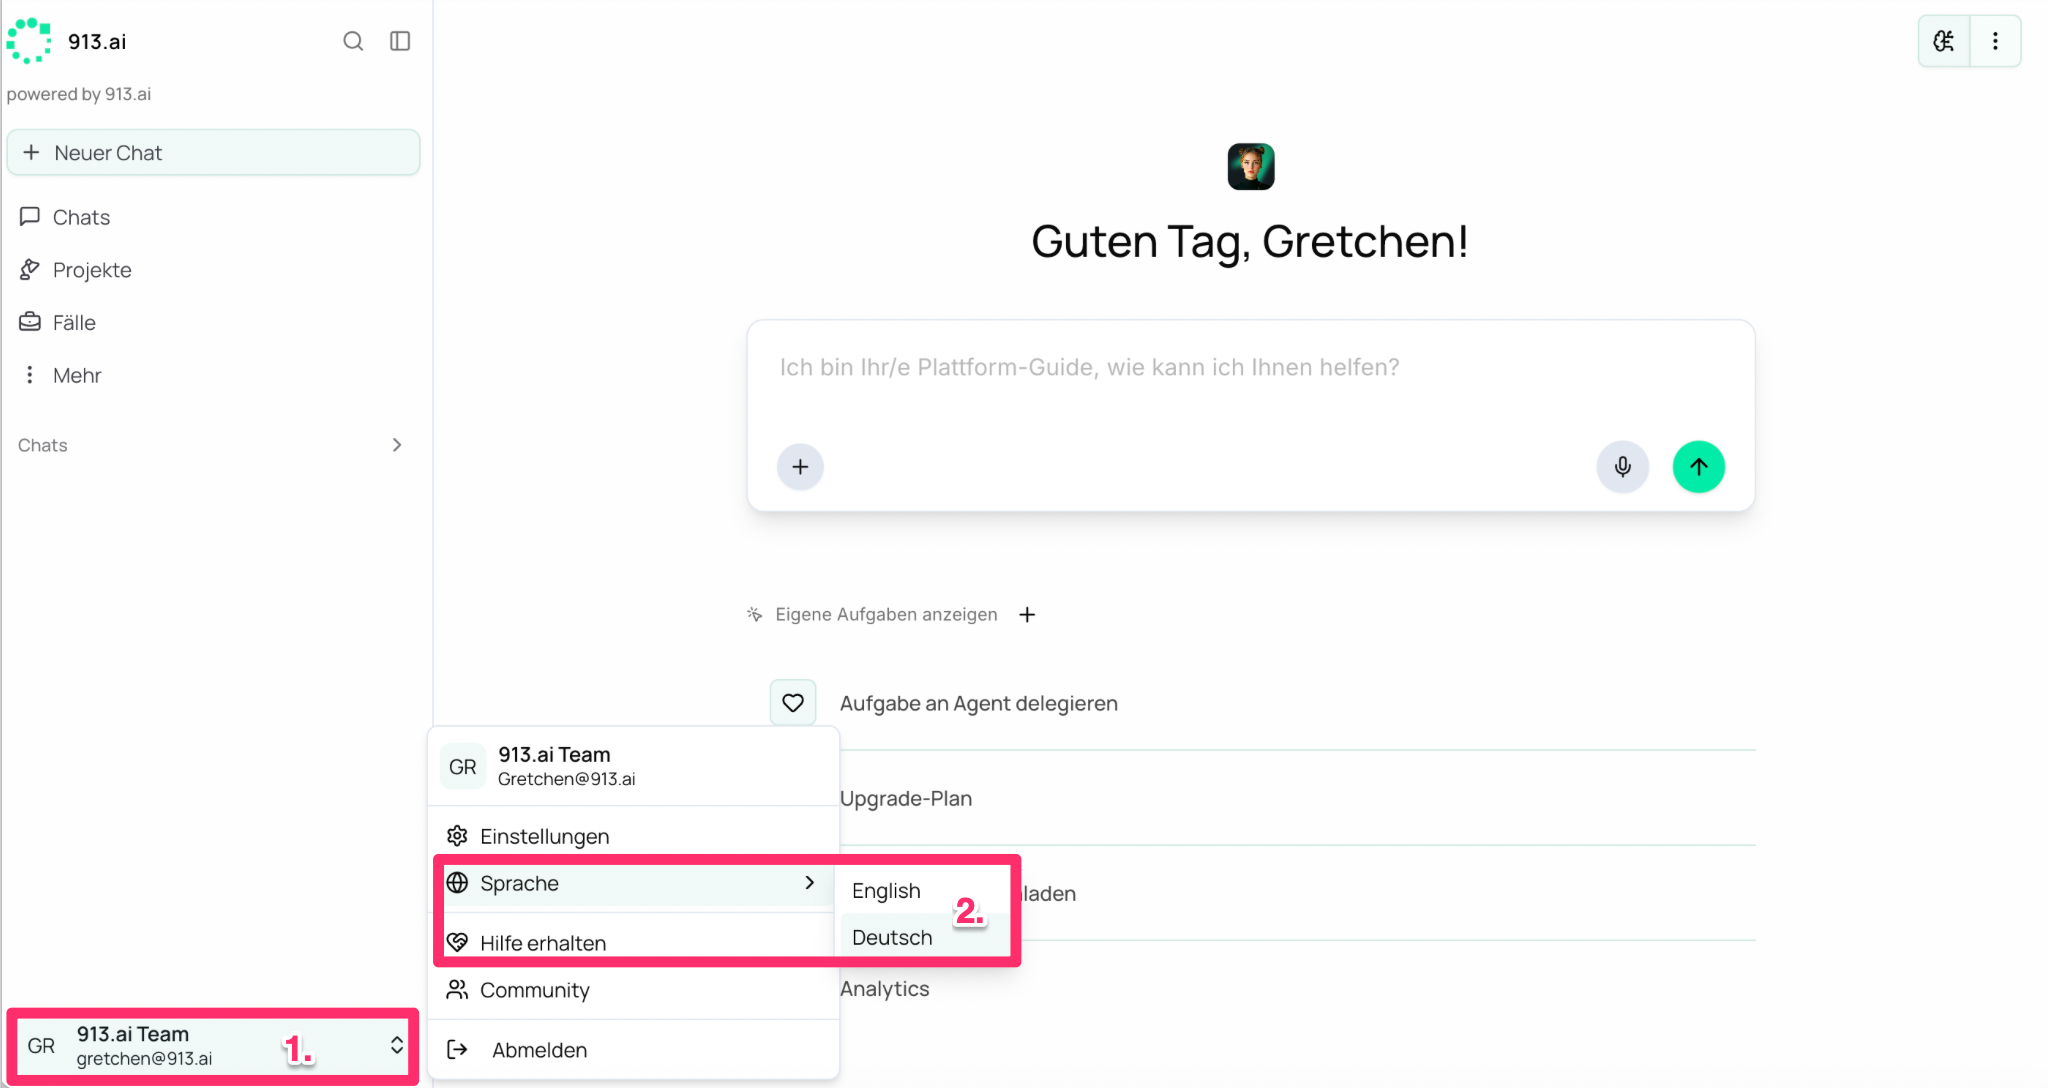
Go to your profile settings at the bottom left.
Select your preferred language.
Currently, the platform interface itself only supports English and German, but our AI agents can read and speak all common languages.
Customize Your Account
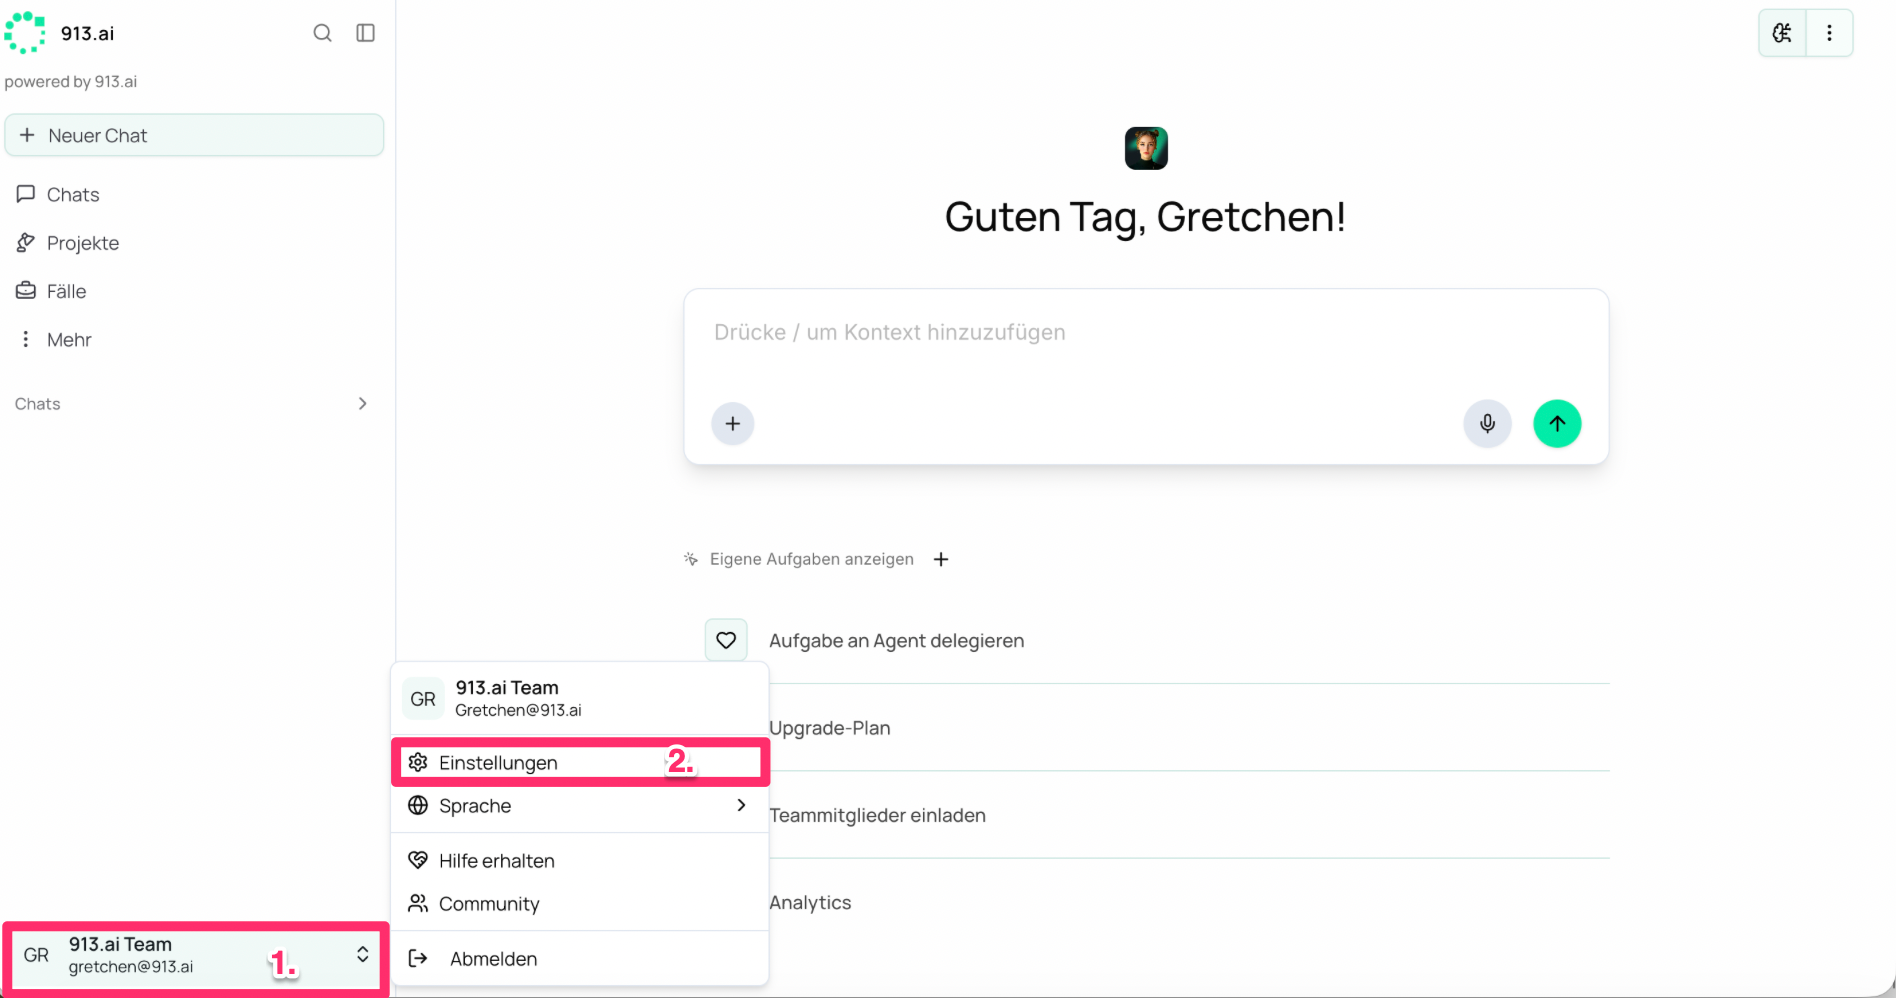
Go to your profile settings at the bottom left.
Select Settings.
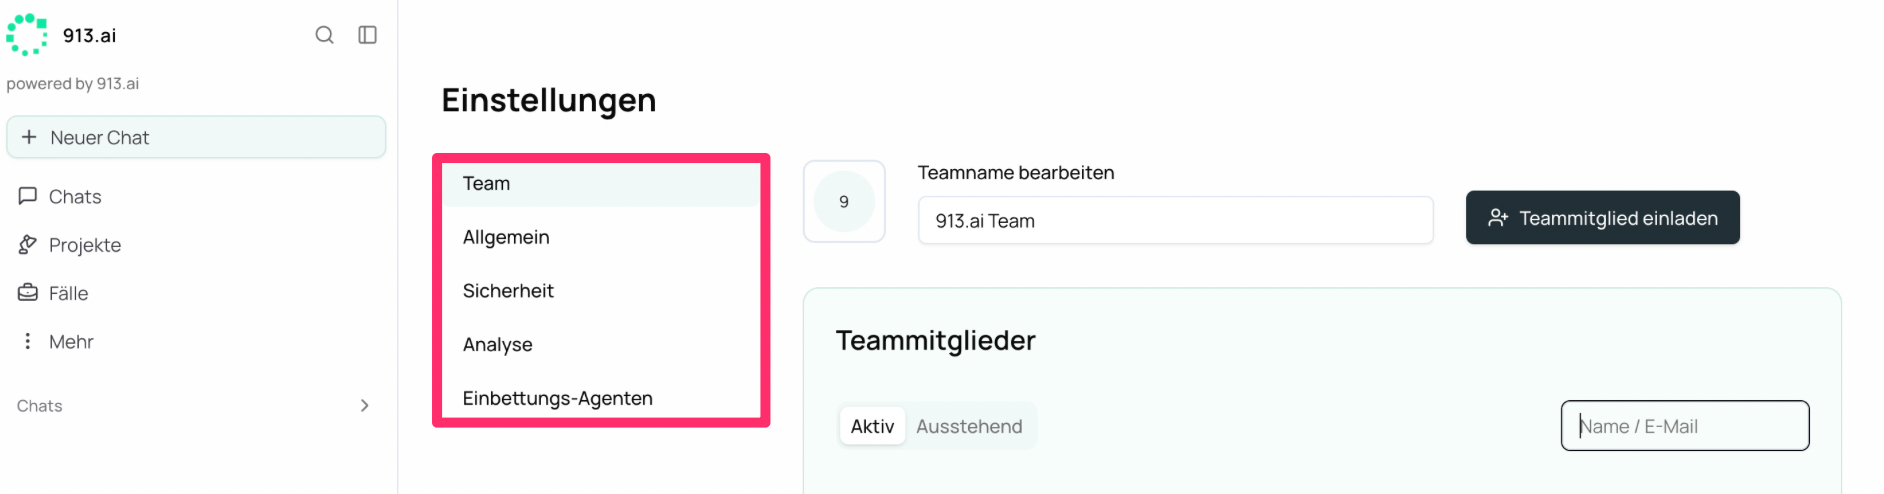
Filter through each tab to explore how to customize your workspace:
Team: Upload your company logo, change your company name, and invite team members.
General: Edit your name or email, customize your workspace appearance (light, dark, or system mode), change fonts, or check the platform's current operational status.
Security: Change your password, enable/disable two-factor authentication, and add passkeys.
Analytics: View usage analytics for yourself and those on your team.
Embed Agents: Request an agent from 913.ai that works in real time on your website and has your guidelines integrated.
Left Sidebar Navigation
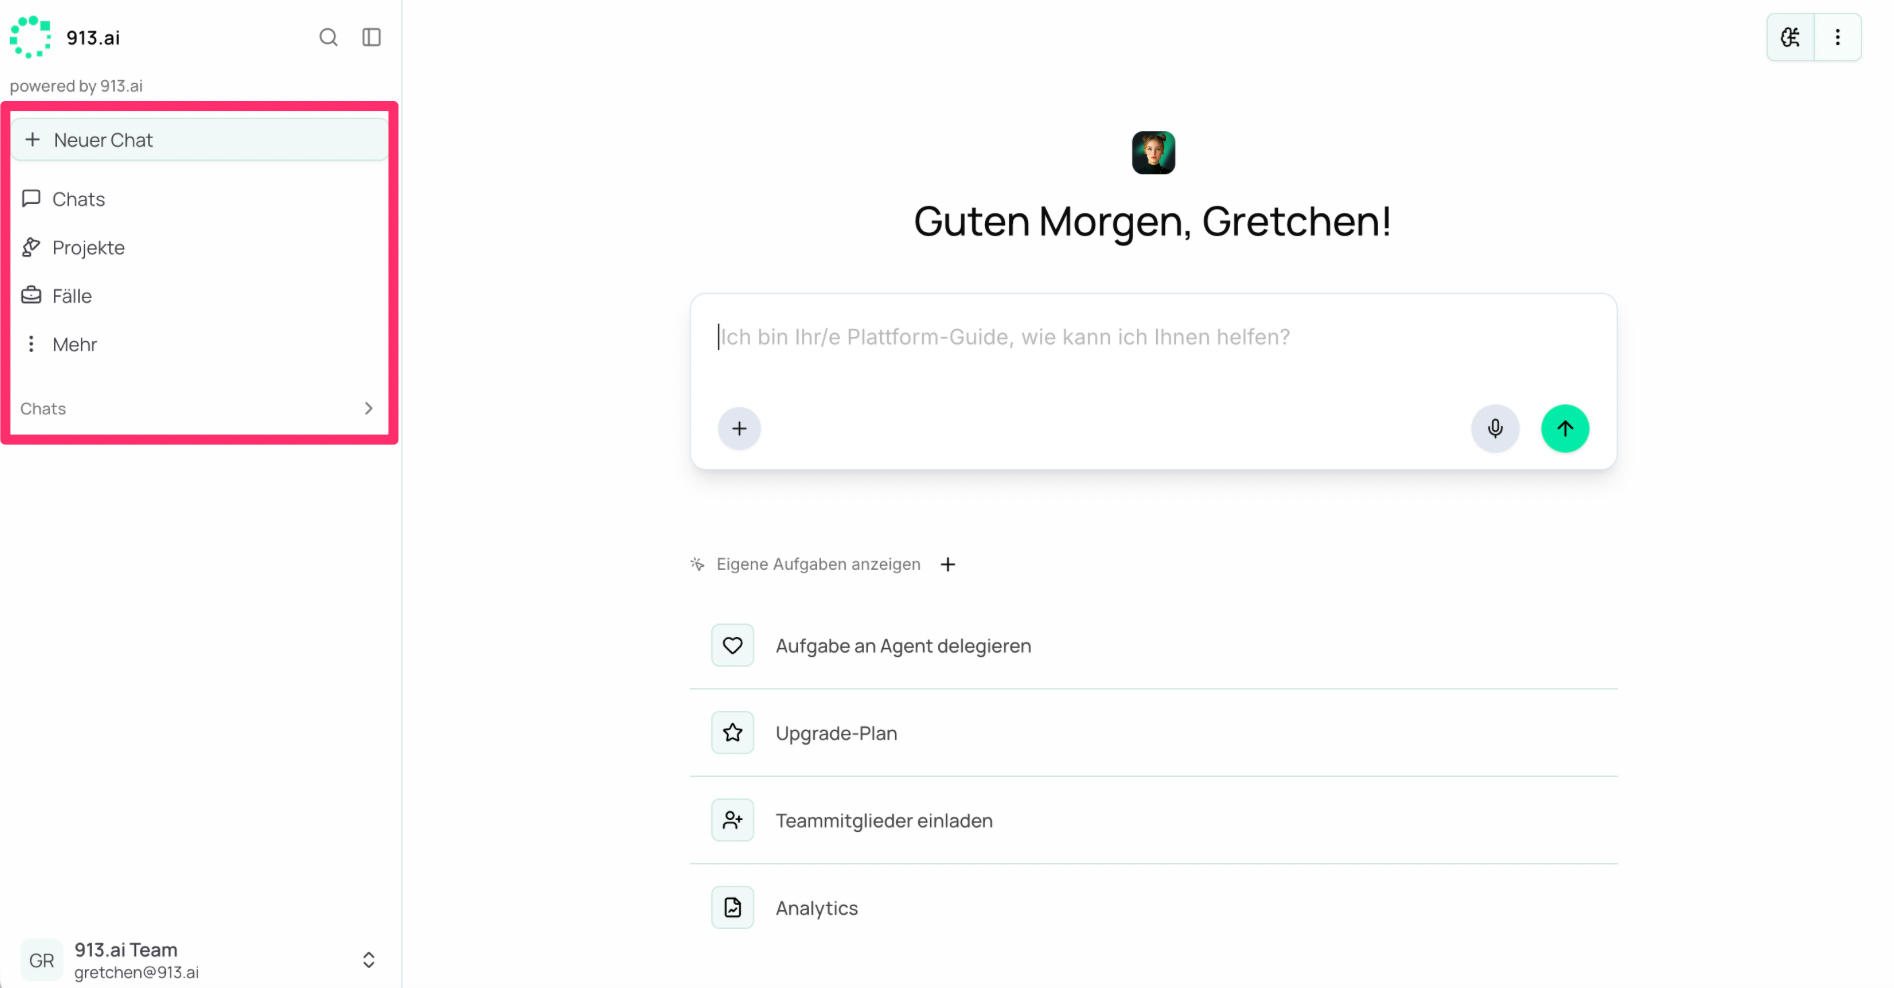
+ New Chat
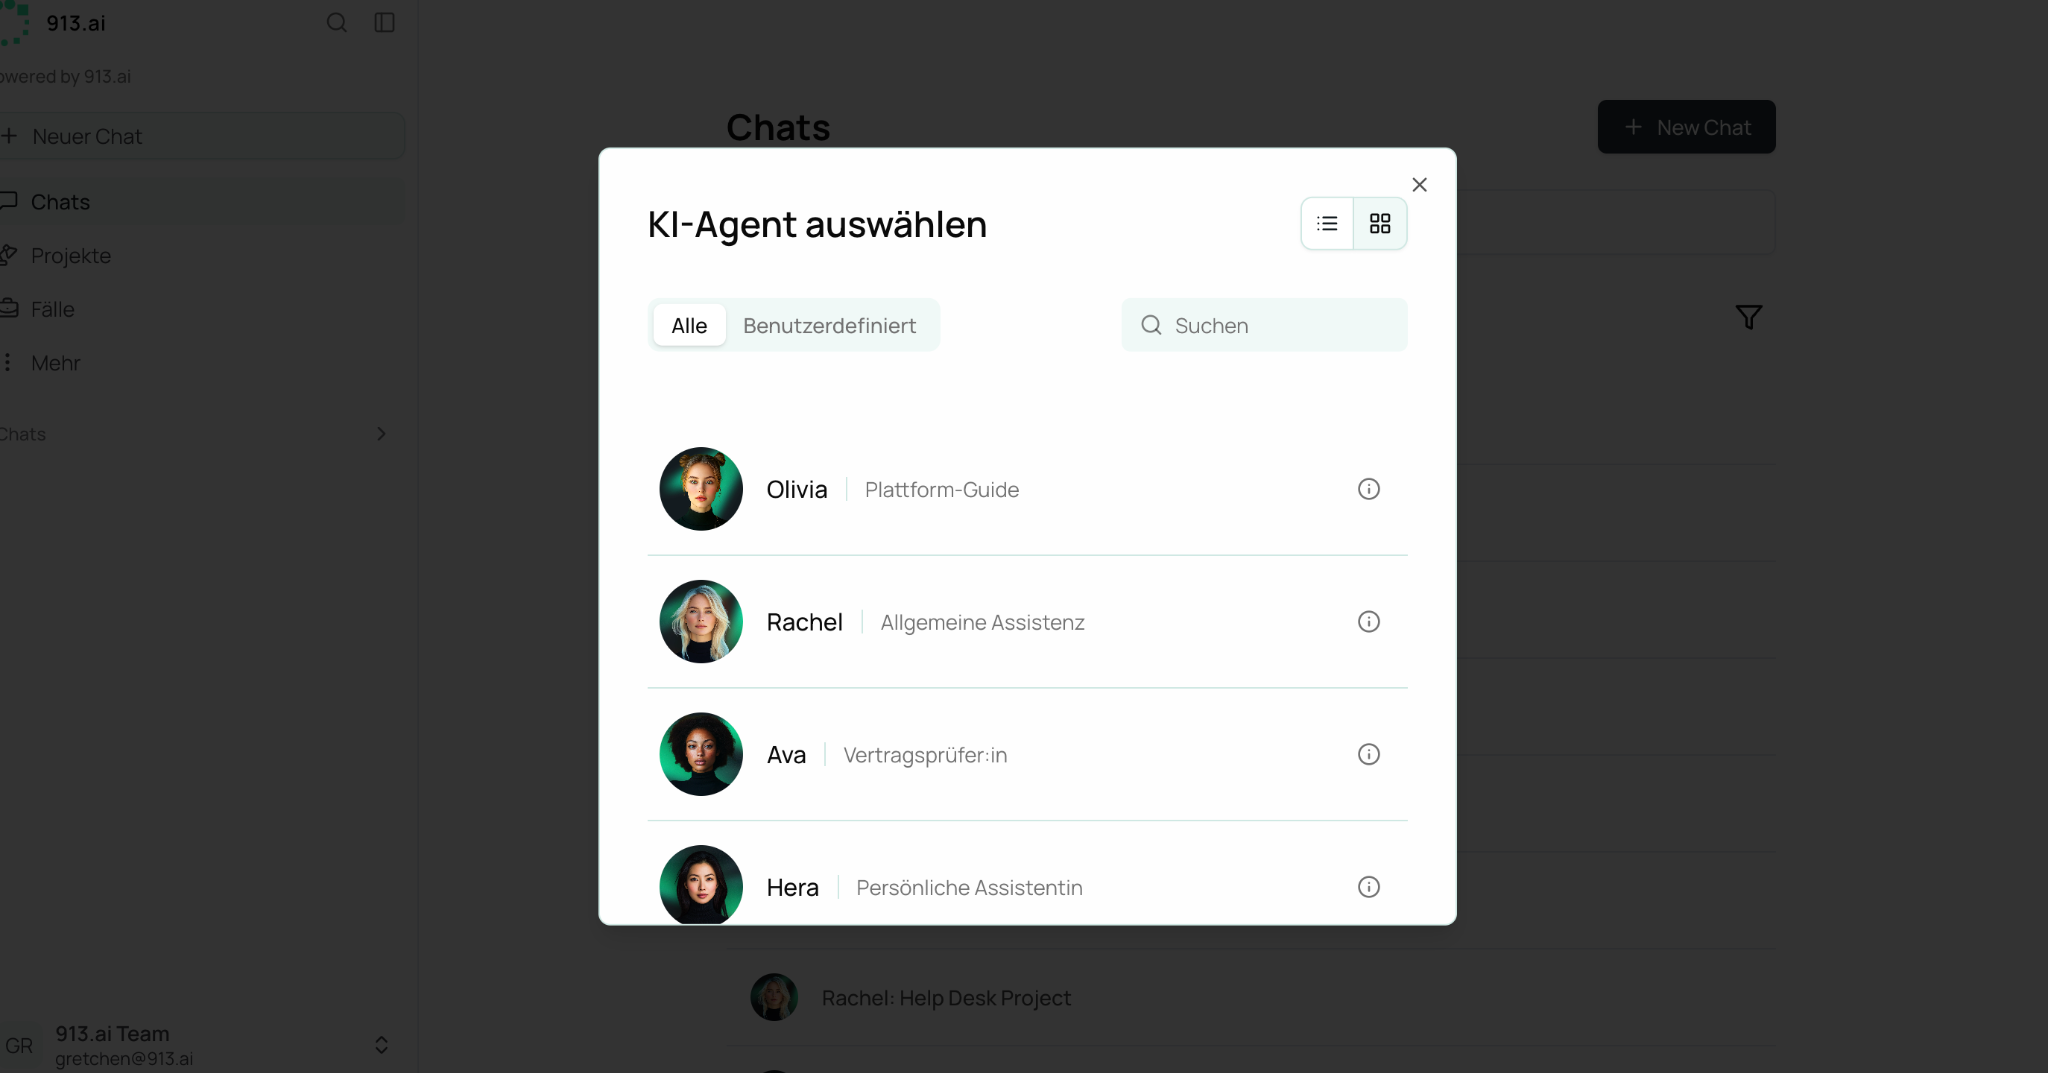
Click this button to start a new conversation with an AI Agent
Choose the agent that best suits your work needs, or ask Olivia if you are unsure
The Info Icon: Click the small info icon next to an agent to view more details about their specific skillset and capabilities. From this menu, you can also mark the agent as a favorite for easier access later!
Use a new chat whenever you want to begin a distinct task or discussion thread
Chats
This section displays all your past and ongoing conversations with AI agents. Here, you can search and filter through all of your preexisting conversations to pick up right where you left off.
Projects
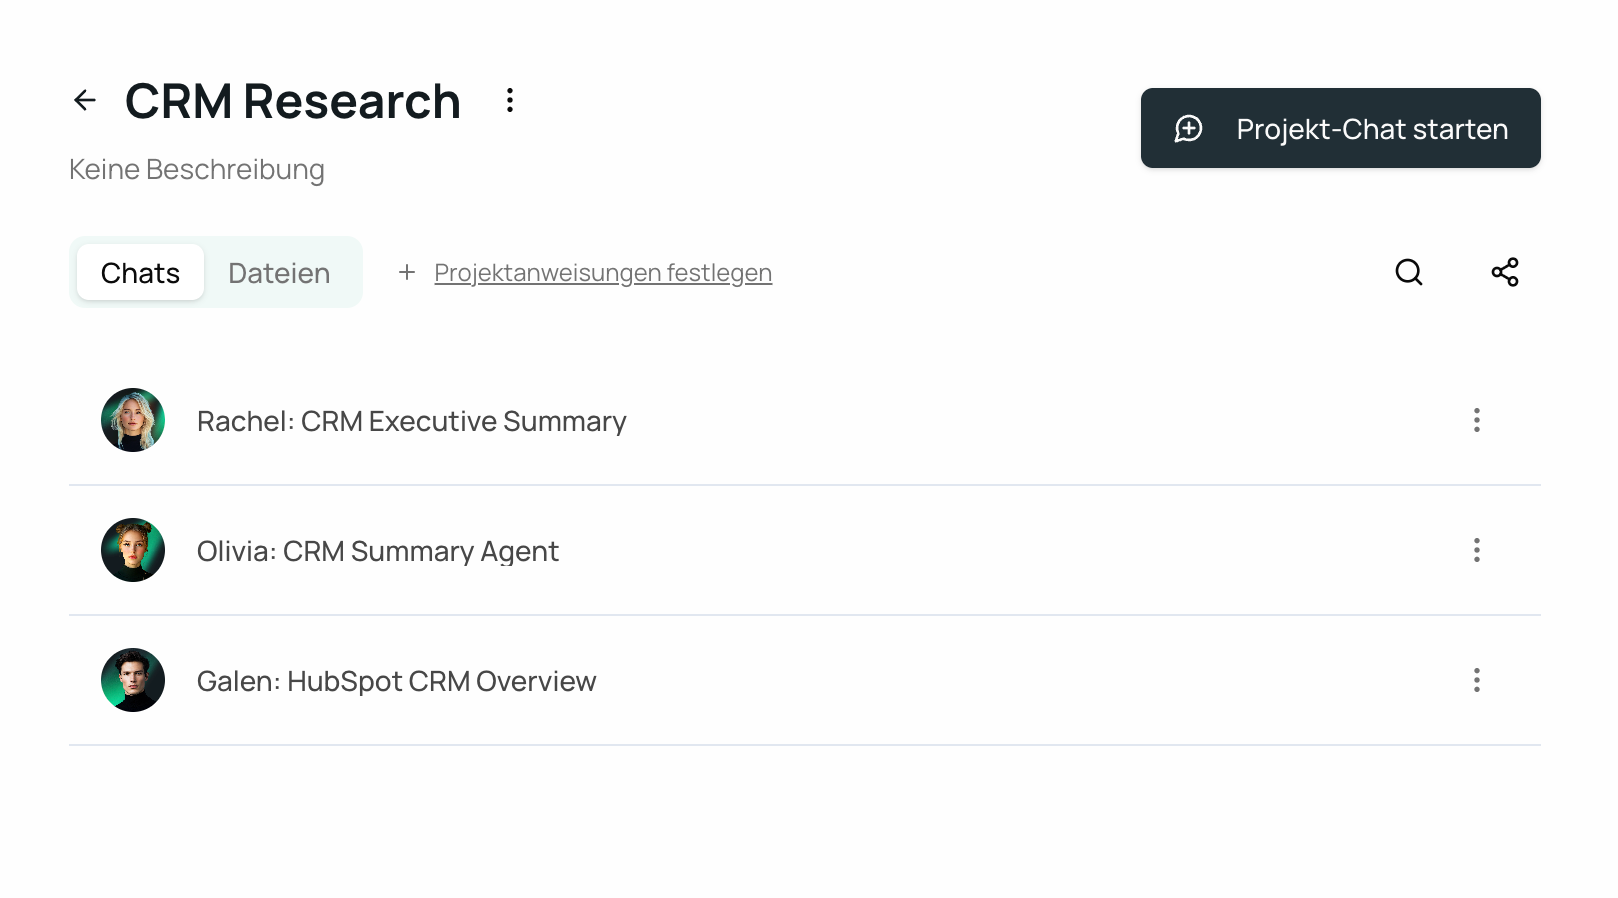
Projects let you organize related work, documents, and chats in one place. Use Projects when you're managing larger initiatives that involve multiple conversations, agents, and files.
Once created, you can house conversations with multiple agents together, upload files, set specific instructions, add team members, and search within that specific project.
Cases
Cases help you track and manage individual records or items that need processing—like customer inquiries, claims, or structured workflows. Each case keeps all related information organized, auditable, and accessible.
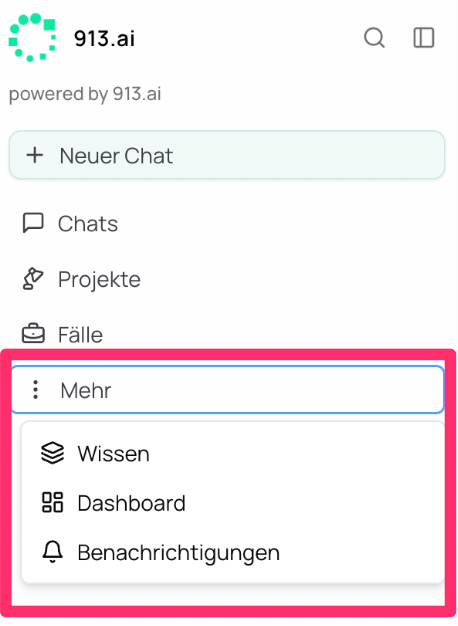
More
This section includes additional options for managing your team and workspace:
Knowledge: Upload and organize files once so all agents can access them across the platform, saving you the time and hassle of repetitive uploads
Dashboard: Shows various metrics on how much you’ve used the platform to enhance your work, along with help articles and updates on new features
Notifications: Keeps you up to date with updates from your chats or members of your team
Top Right Icons
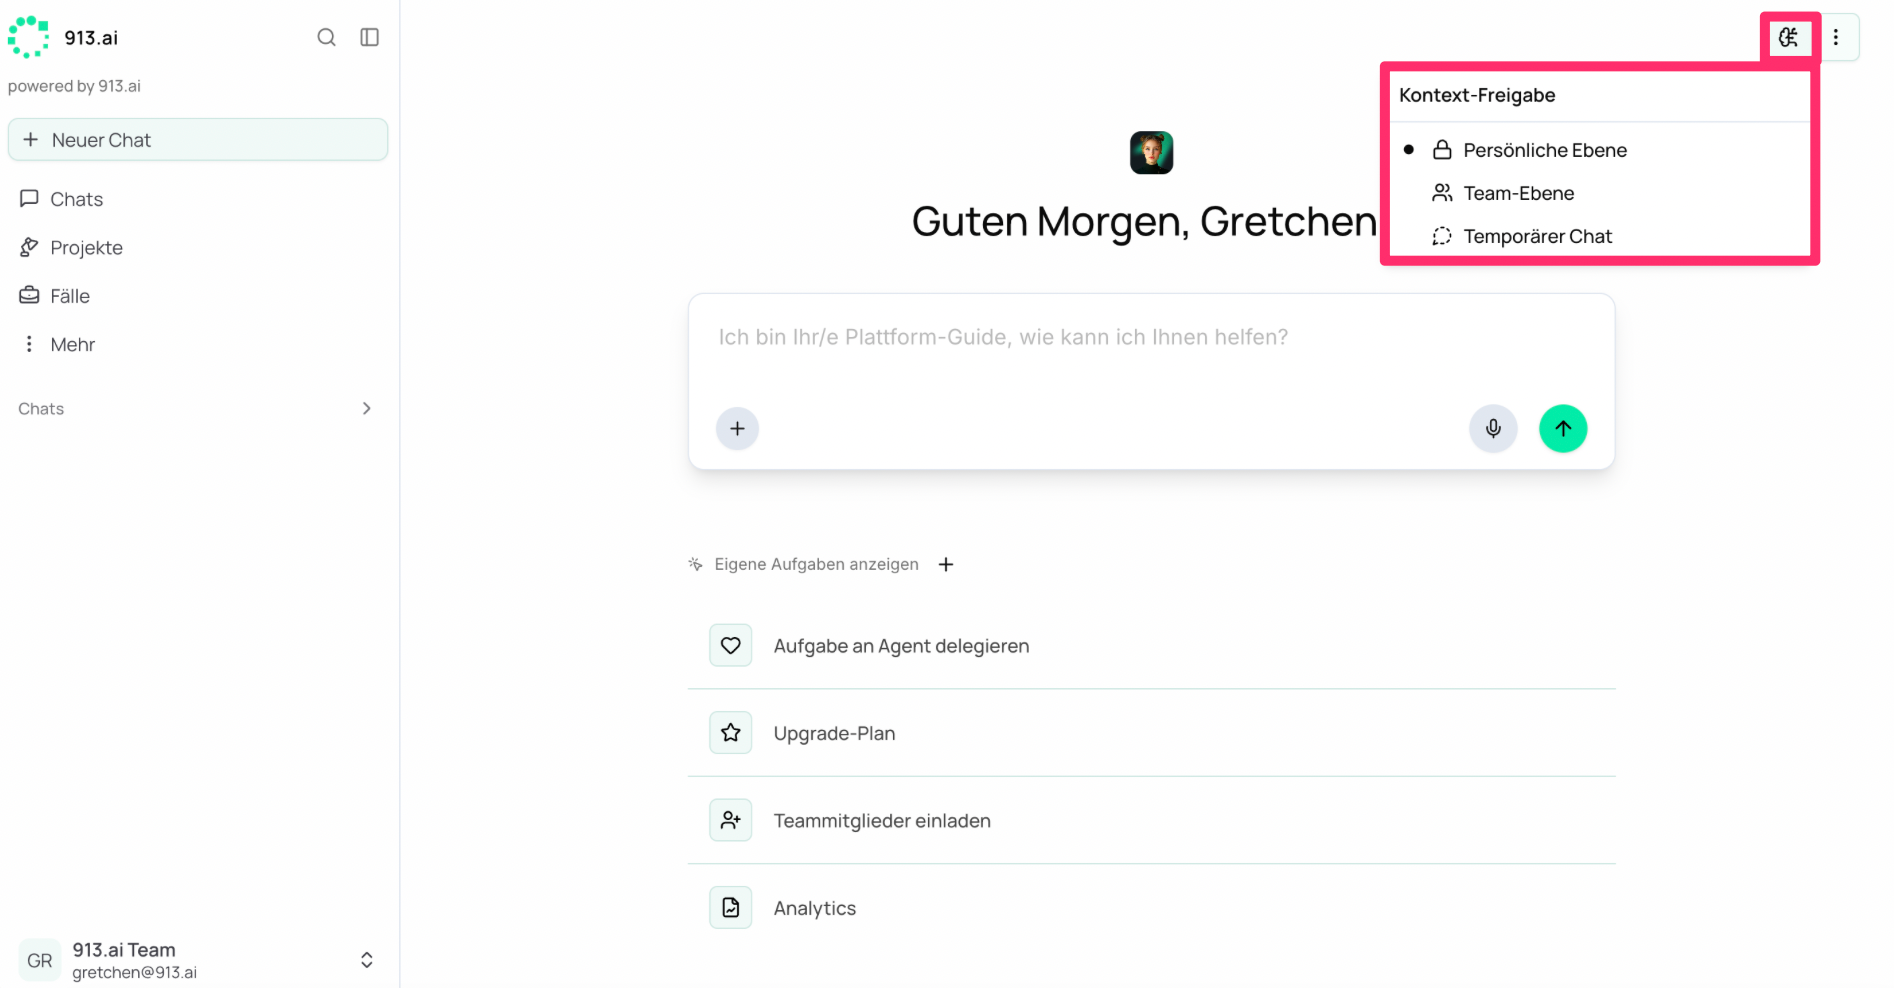
Context Sharing
This icon enhances data security. You can classify exactly who this information is being shared with and how long it is being stored (Personal, Across Team, or Temporary—which means the chat is deleted immediately after closing).
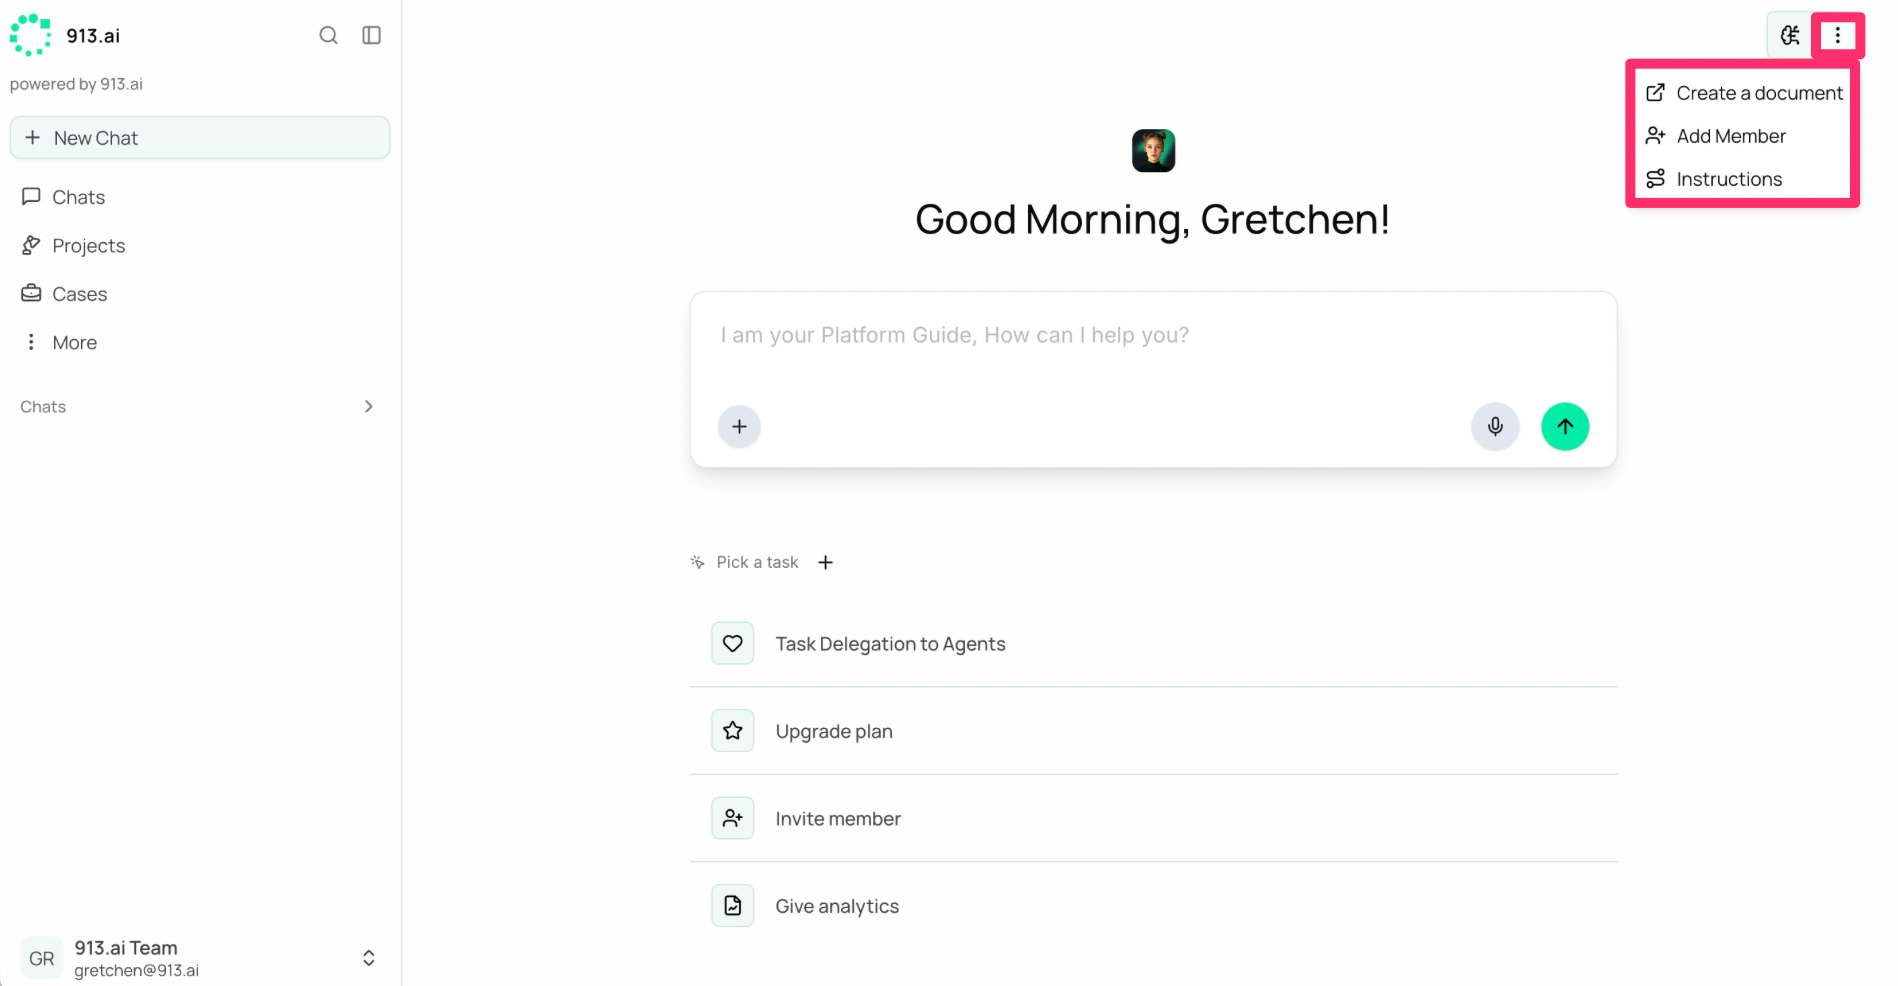
Options Menu (⋮)
The three vertical dots open a menu with key workspace actions: create a new document, add a new team member, or set up global instructions that apply to all of your active chats.
Quick Tips for Getting Started
Explore Agents first: Ask Olivia to introduce you to the platform and agents. If you are ever unsure which agent can best help you, ask Olivia first.
Mark favorites: Once you find the AI Agents you use most often, click their info icon and mark them as favorites for quick access in your sidebar.
Use Projects for big work: When juggling multiple related tasks, create a Project to keep everything organized in one place.
Need Help?
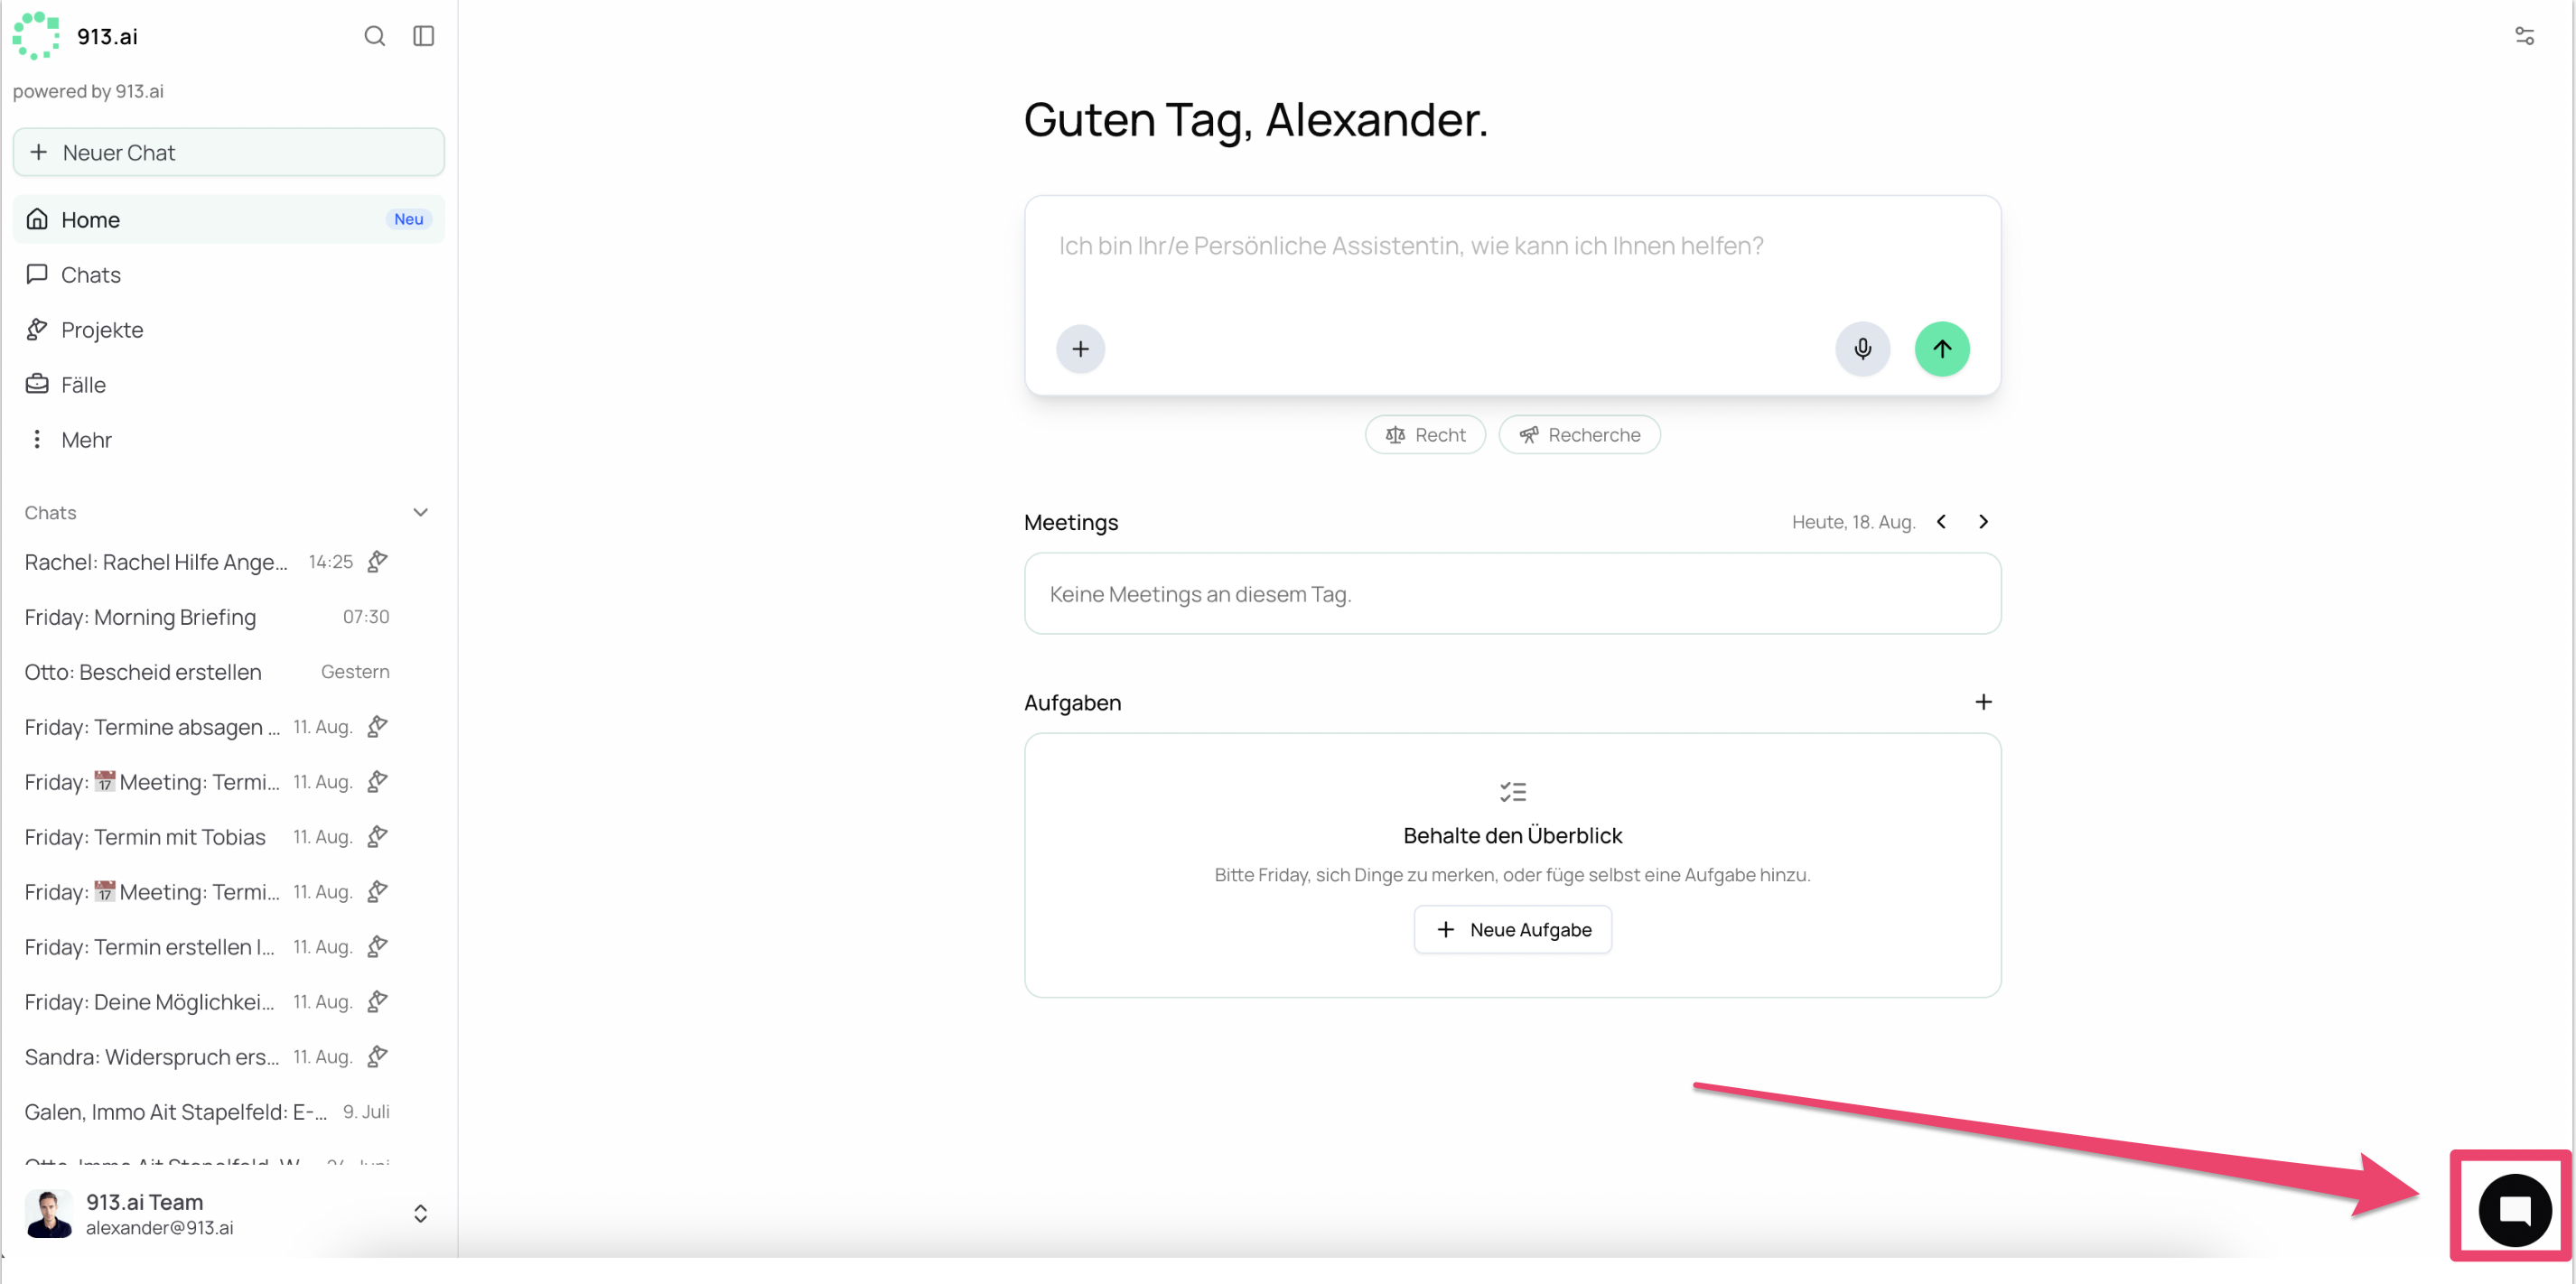
Use the support chat in the bottom-right corner to reach our team directly.
Click on your speech bubble at the bottom-right corner.
Click Start a Conversation
Click Send us a message and you will be directly connected with our support agent and experts.